Photo guide
Photo guide
Seven simple rules for photos that sell. Each one with a side-by-side so you can see the difference for yourself.
01
Lighting
Shoot near a window in natural daylight. Indoor lights make colours look off and buyers can't tell what they're really getting.
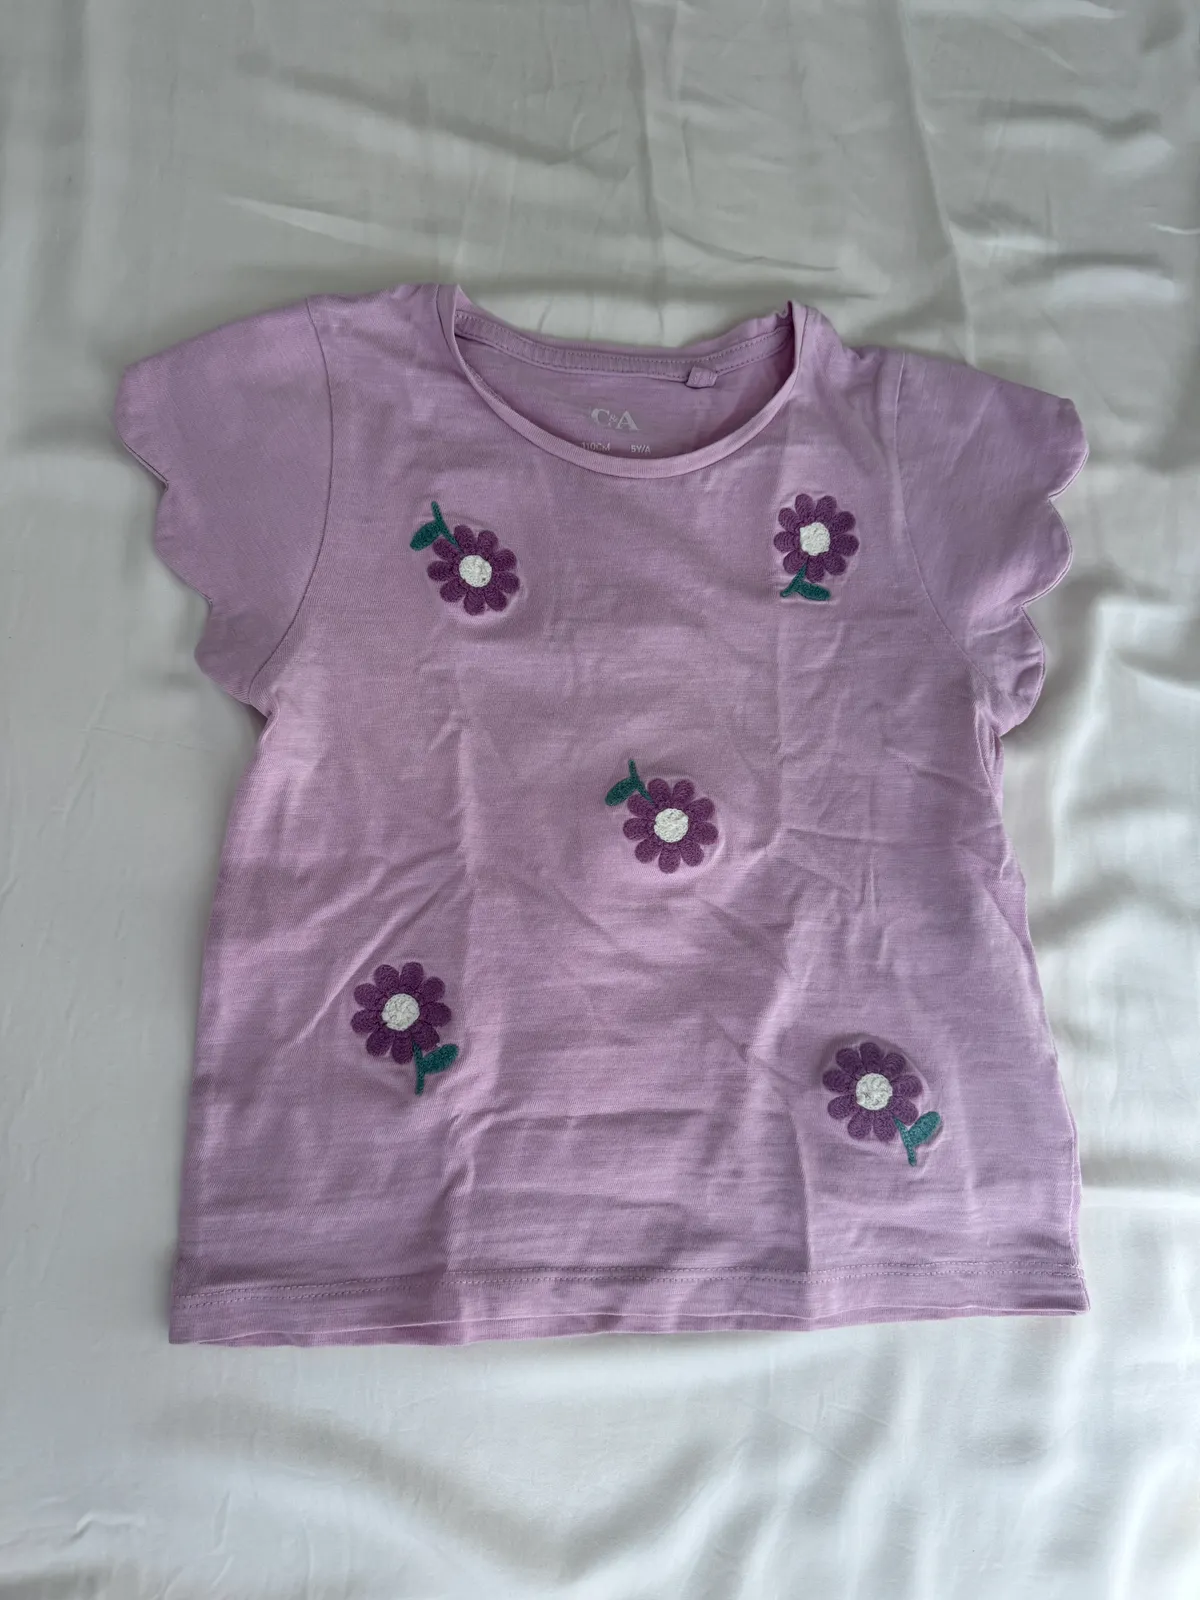
Do: Flat lay in natural window light 
Avoid: Same item under yellow indoor light or harsh flash 02
No faces
Keep kids' faces out of your photos. Flat lay is the easiest way and it looks great too.
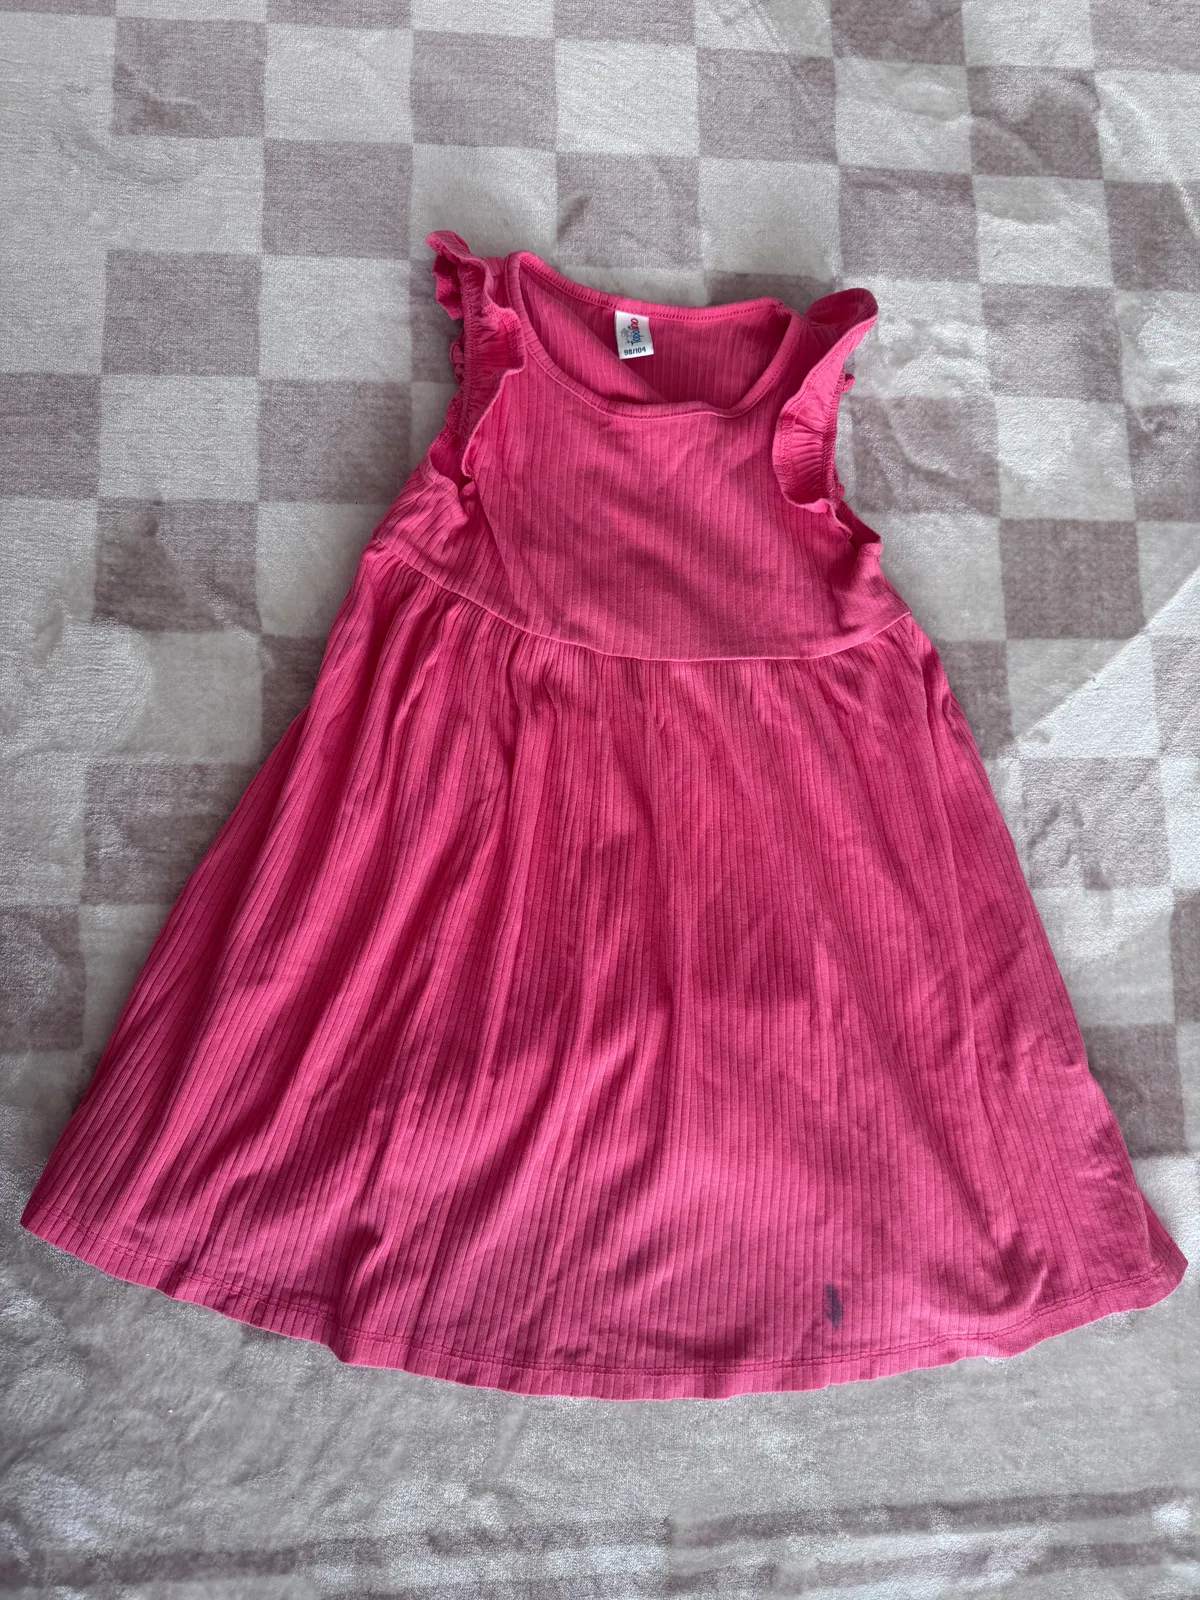
Do: Flat lay, no model at all 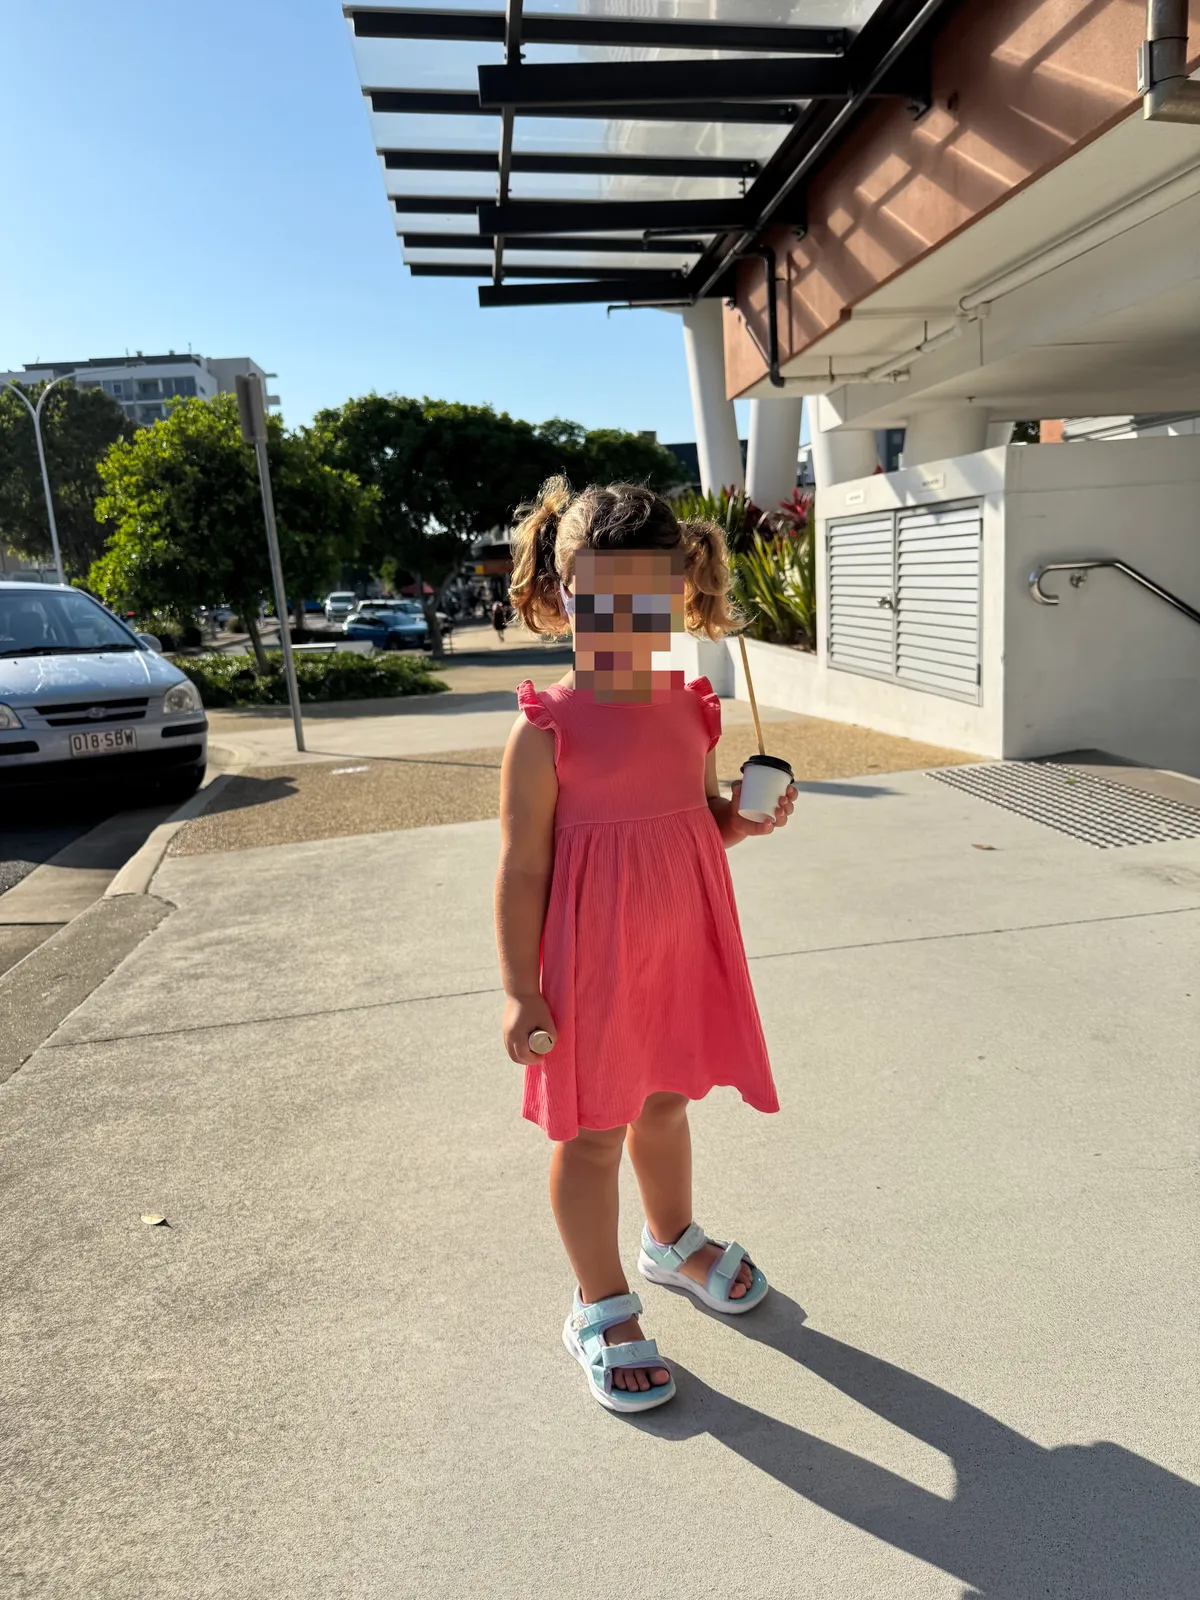
Avoid: On-model photo with child's face visible 03
Cover shot
A clean flat lay makes your item the star. Skip the messy background, it's the first thing buyers see.

Do: Clean flat lay on neutral surface, item centred and smoothed out 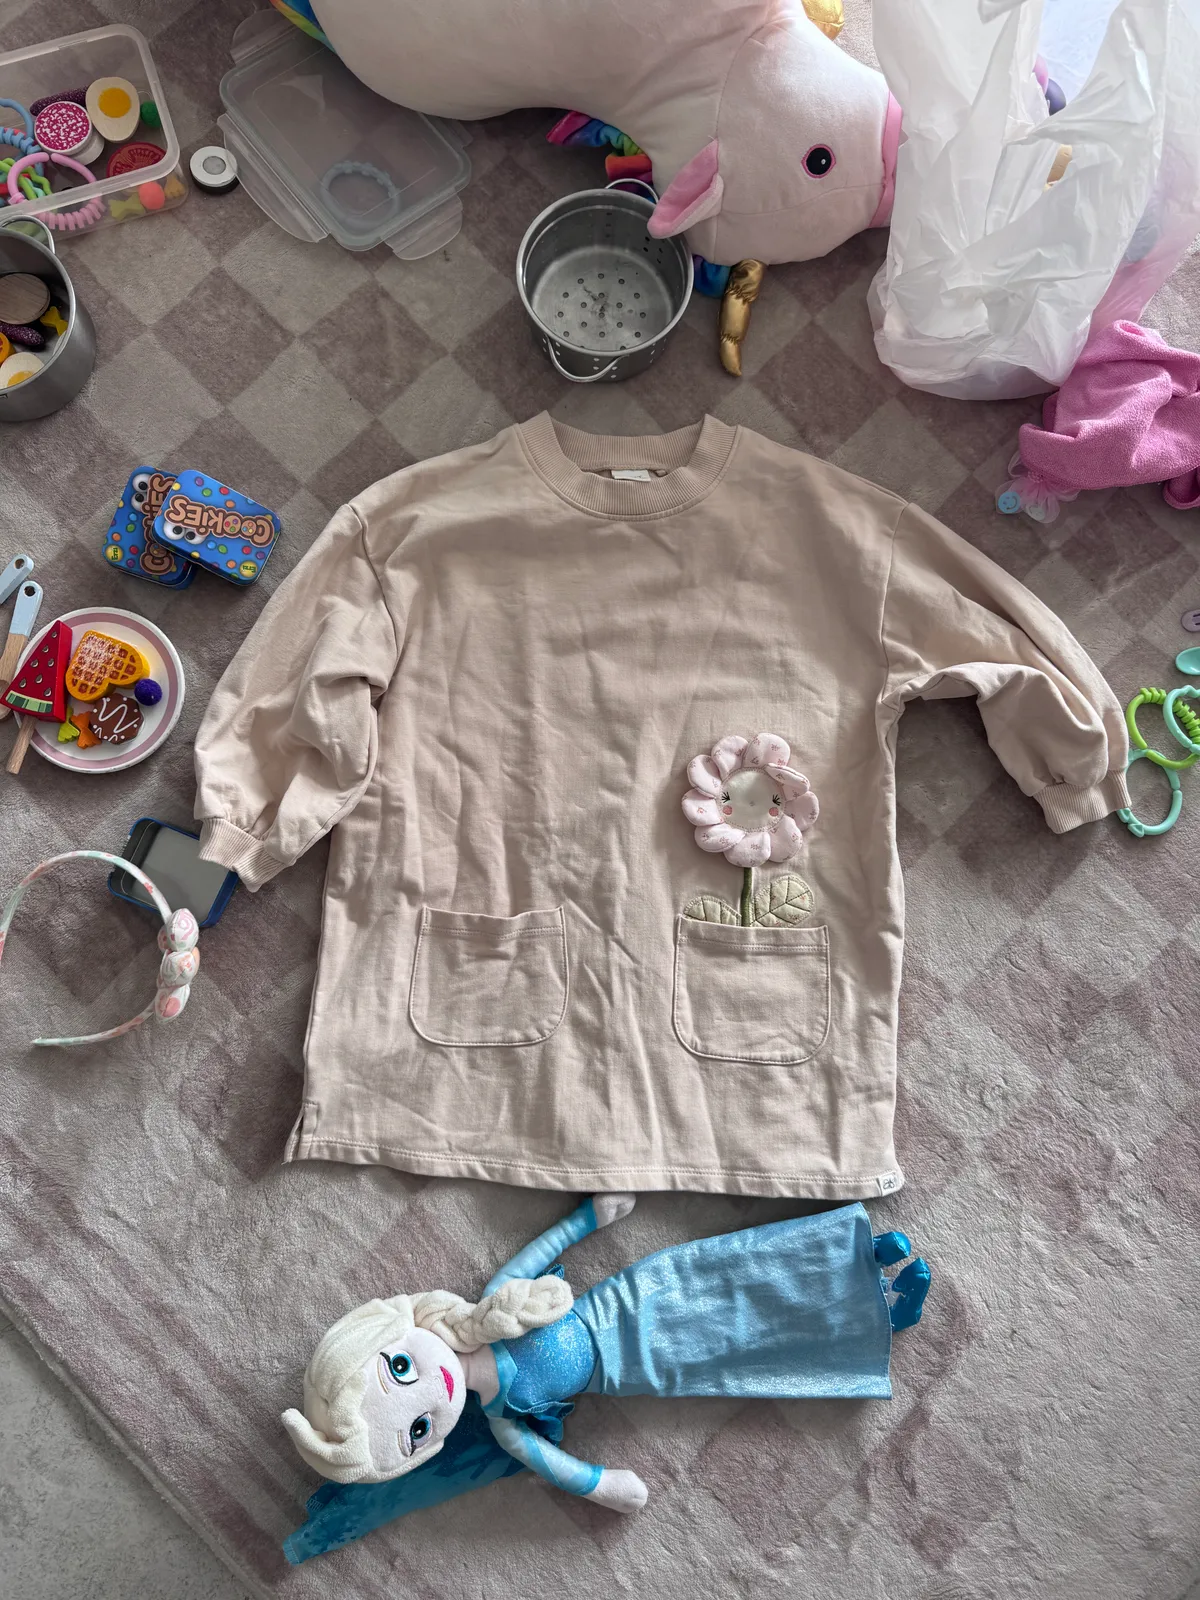
Avoid: Item crumpled on messy bed or couch, toys/laundry in frame 04
Tags & labels
Snap a close-up of the tag so buyers can check the brand and size. Makes your listing feel trustworthy.
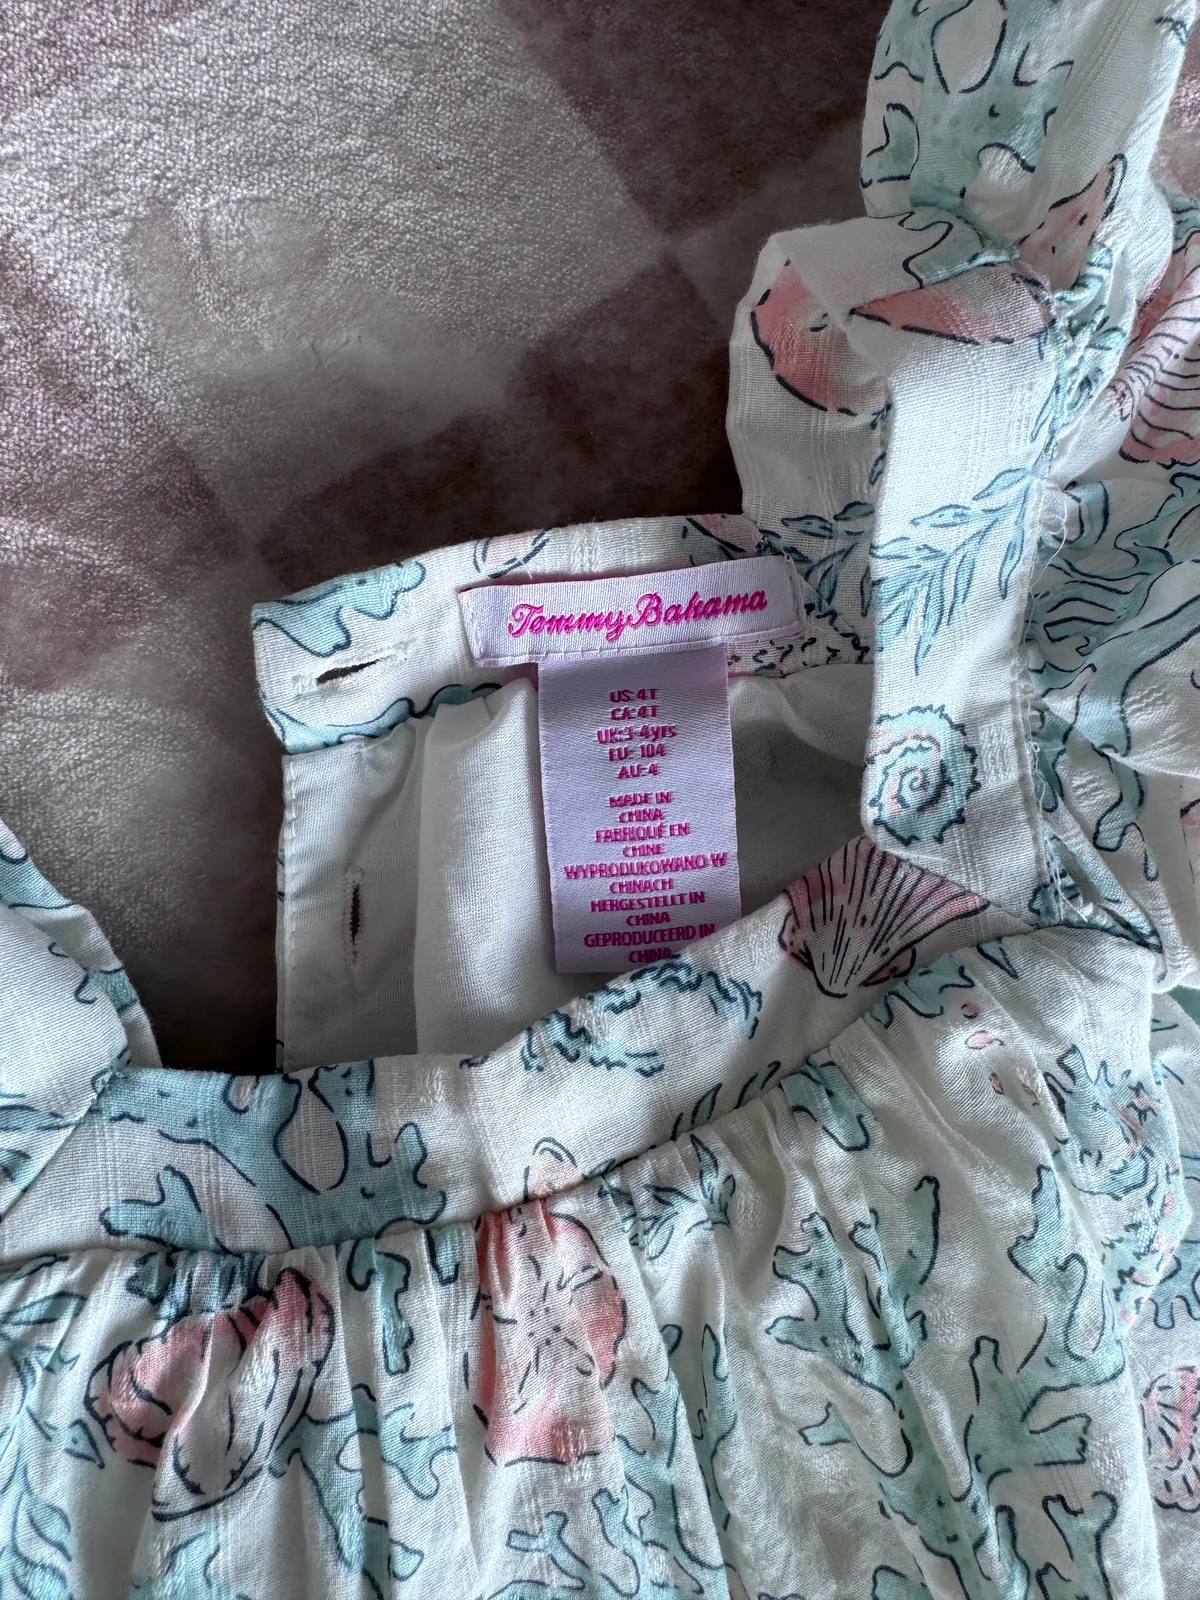
Do: Sharp close-up, brand and size clearly readable 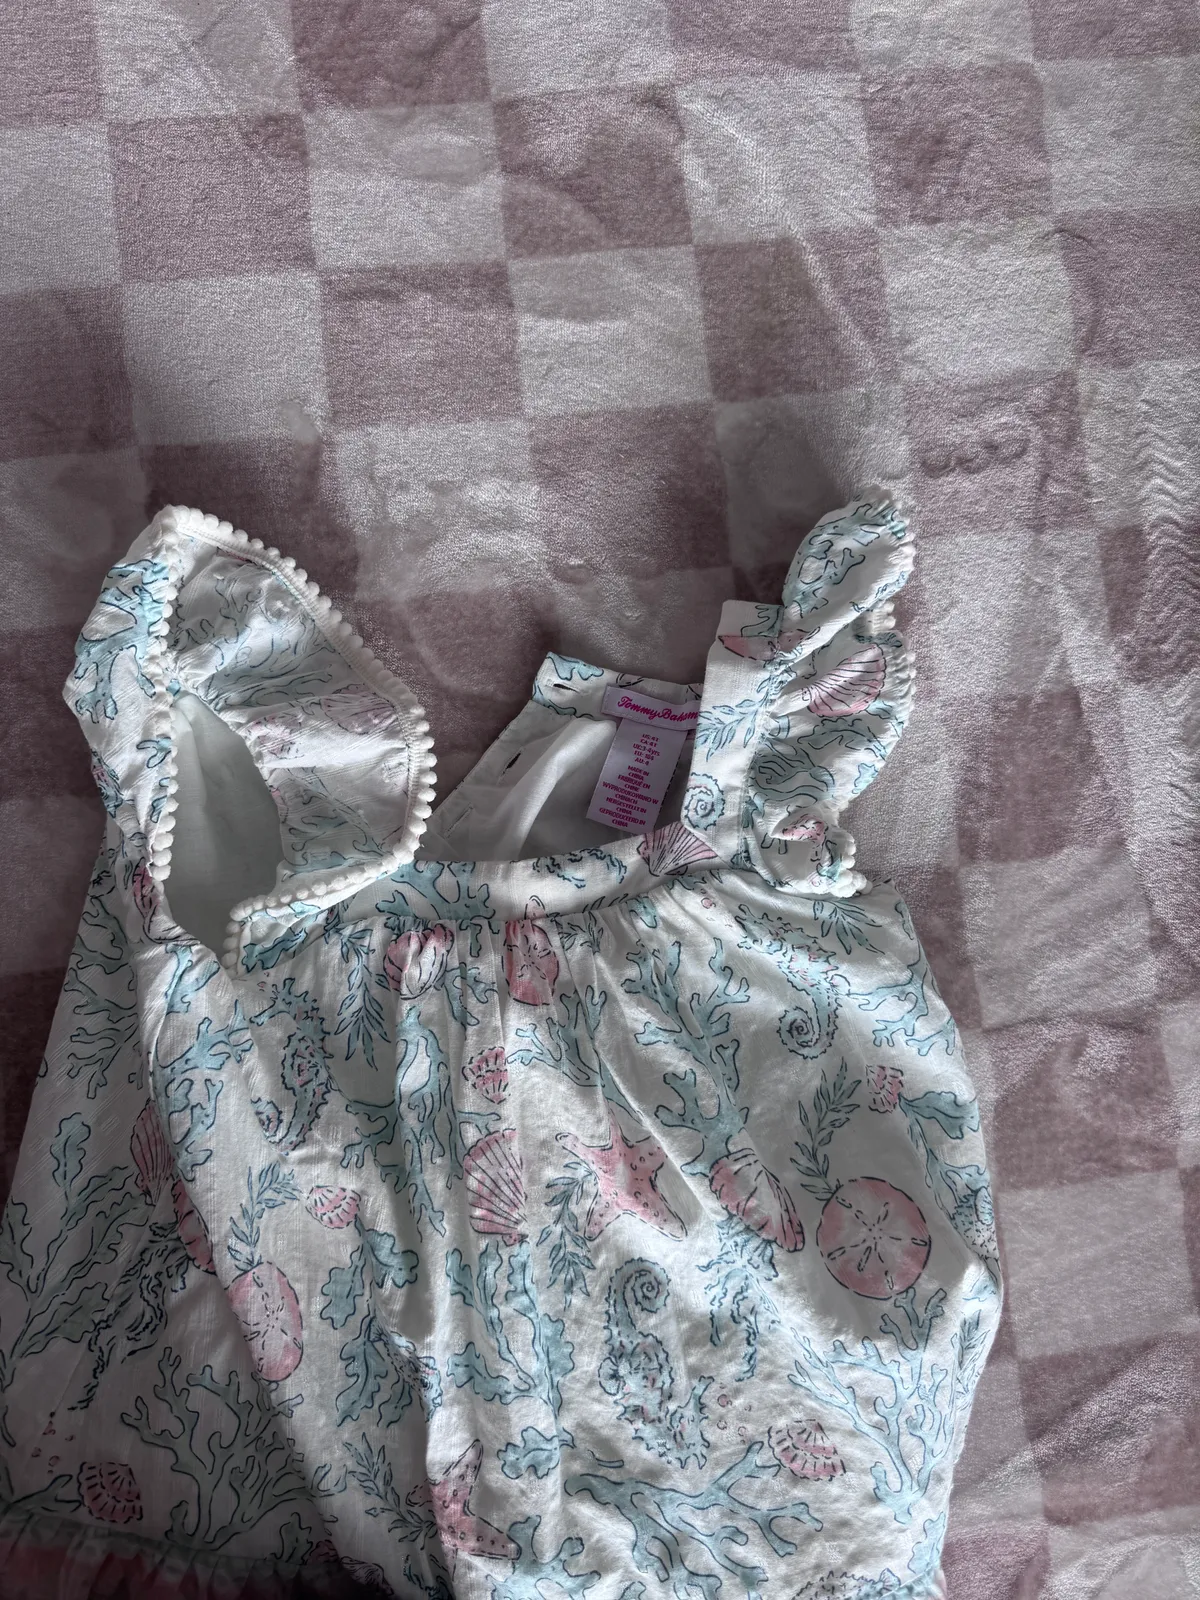
Avoid: Blurry tag, or shot from too far to read 05
Detail shots
Show off the nice bits. Buttons, prints, stitching. Close-ups help buyers fall in love with the piece.
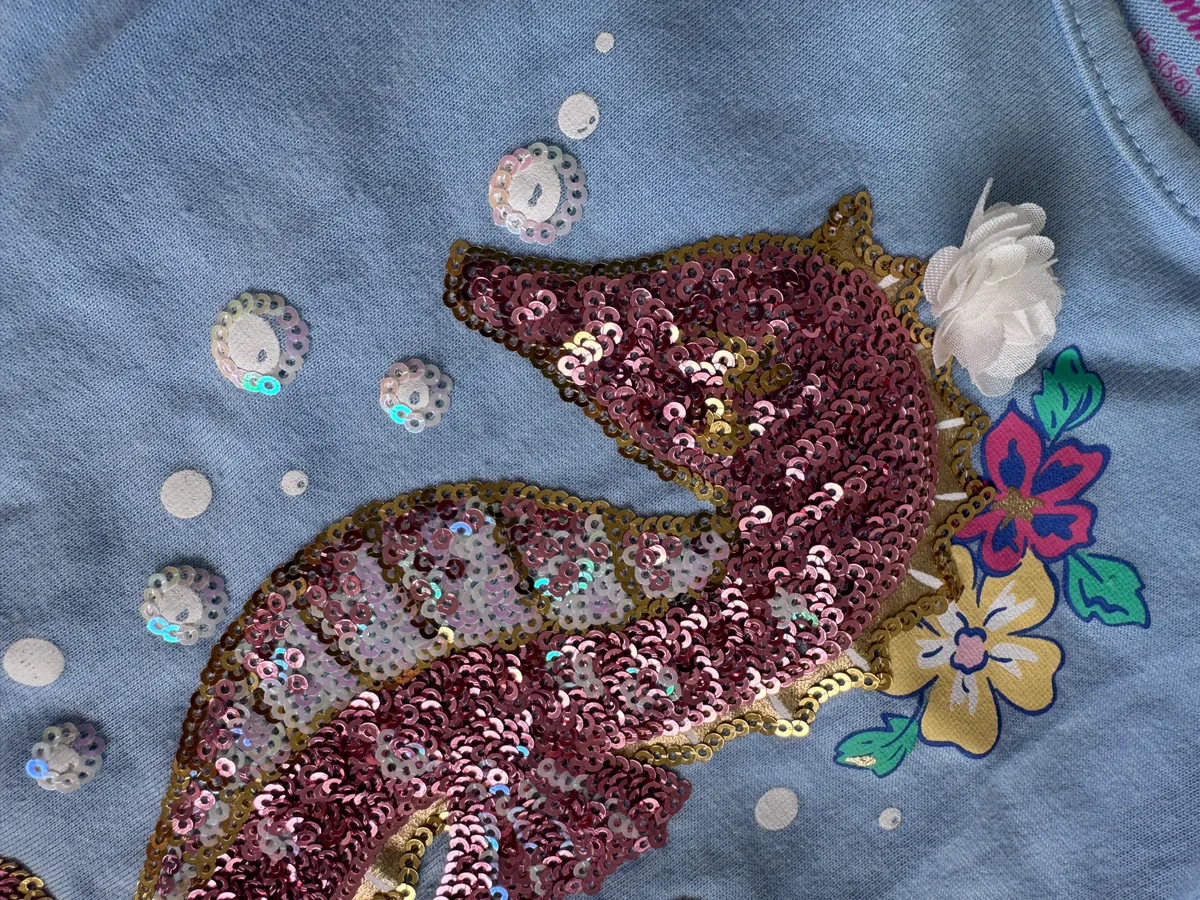
Do: Sharp close-up of a nice feature (buttons, embroidery, print) 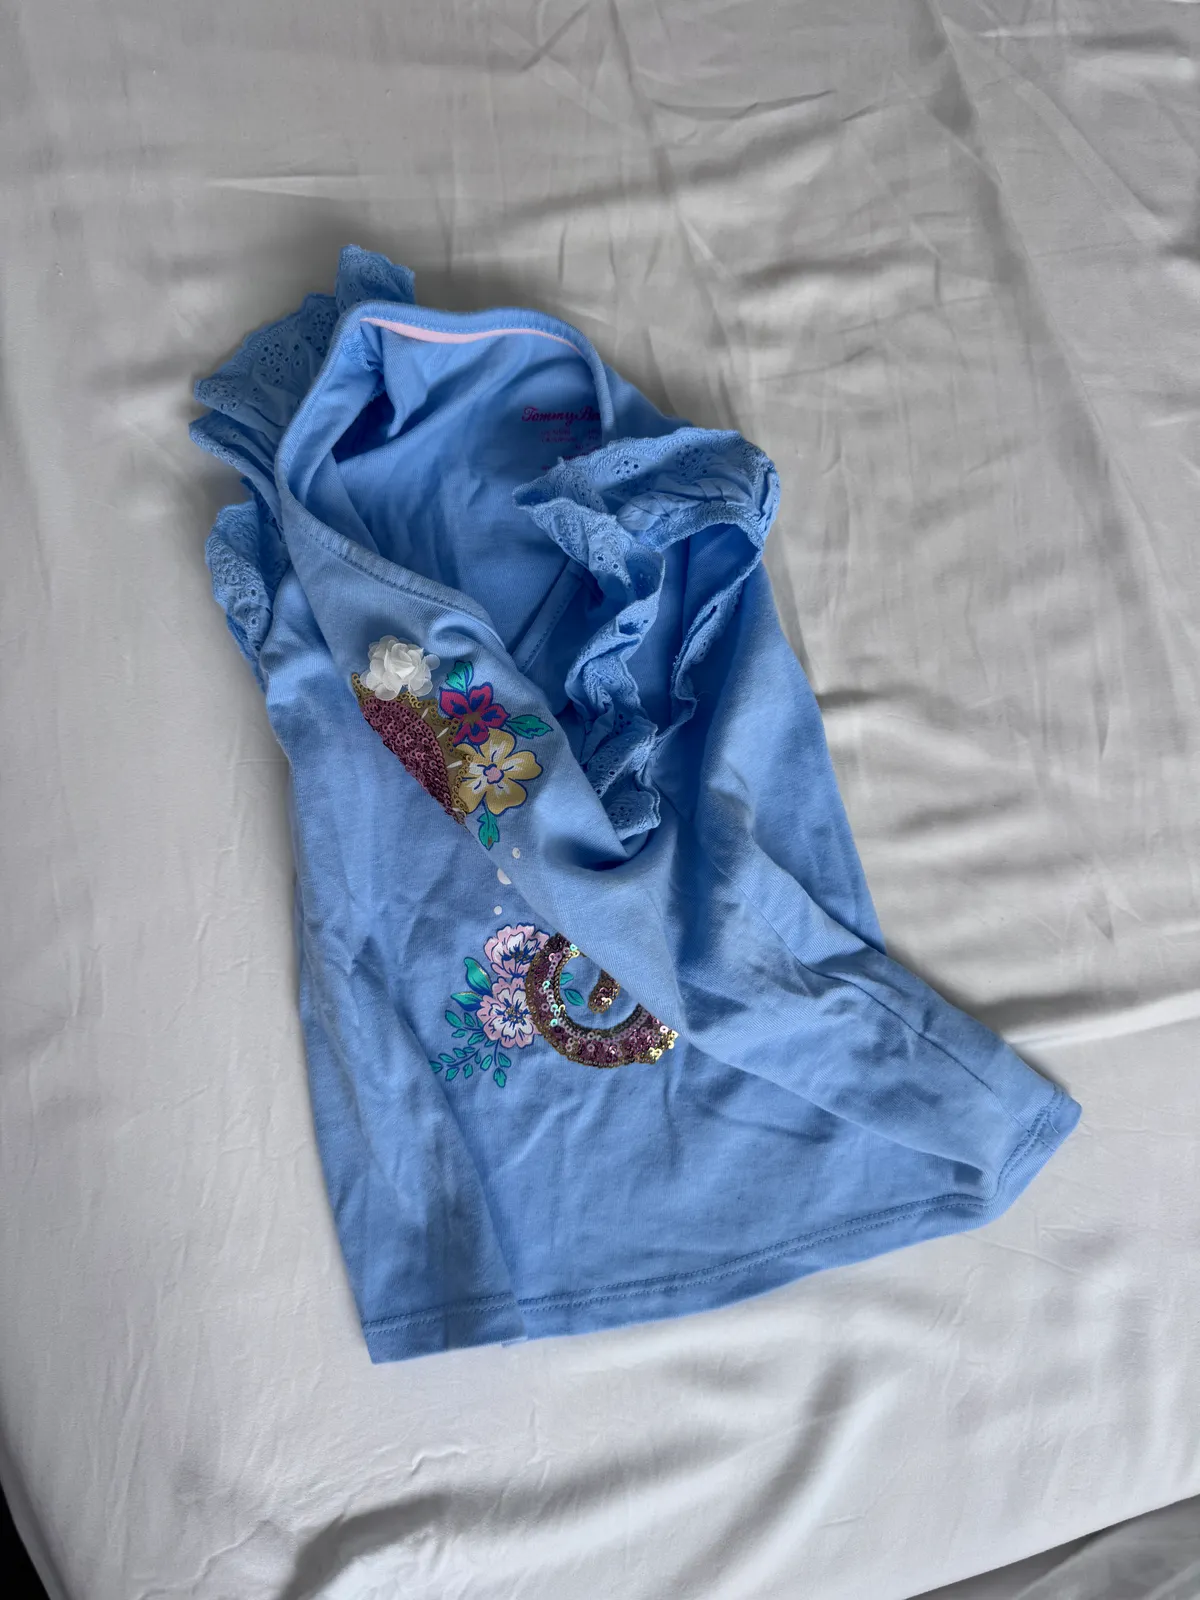
Avoid: Feature shot from too far, you can't see the detail 06
Show the flaws
Got a stain, pill, or loose thread? Show it clearly. Honest listings build trust and get better reviews.
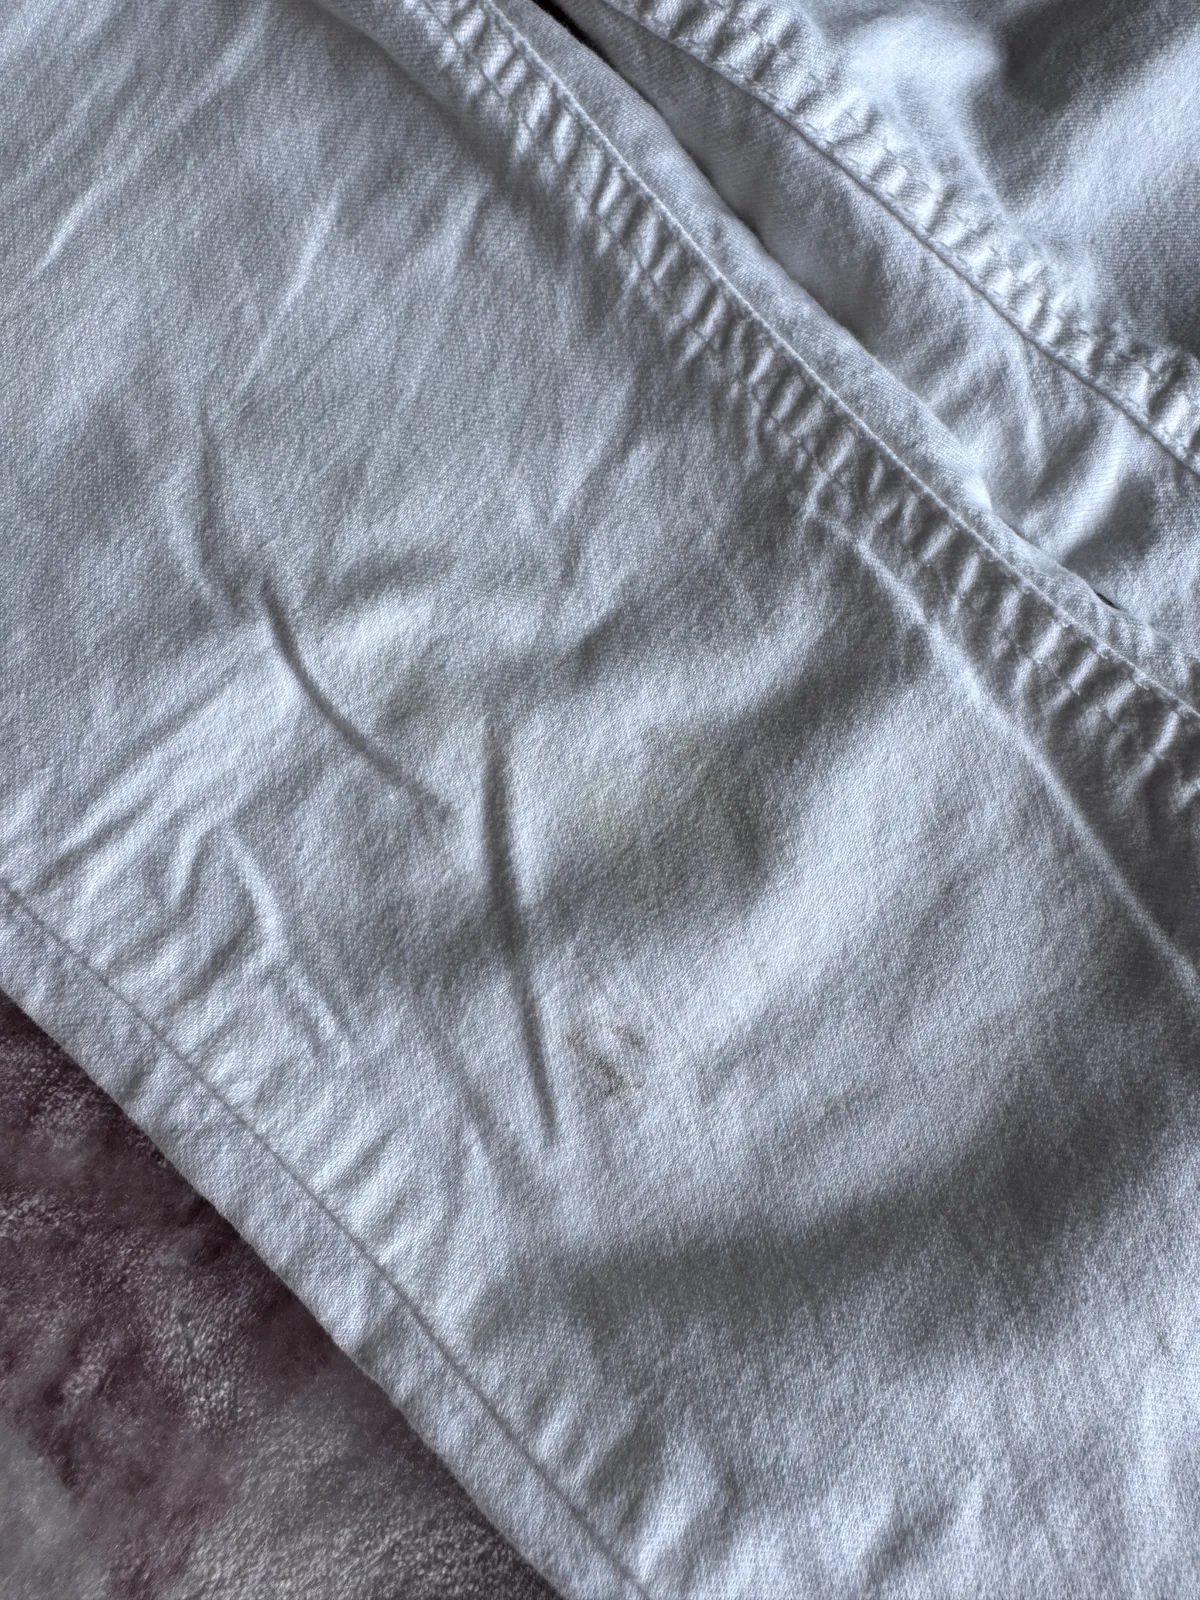
Do: Close-up of the flaw, clearly visible and well-lit 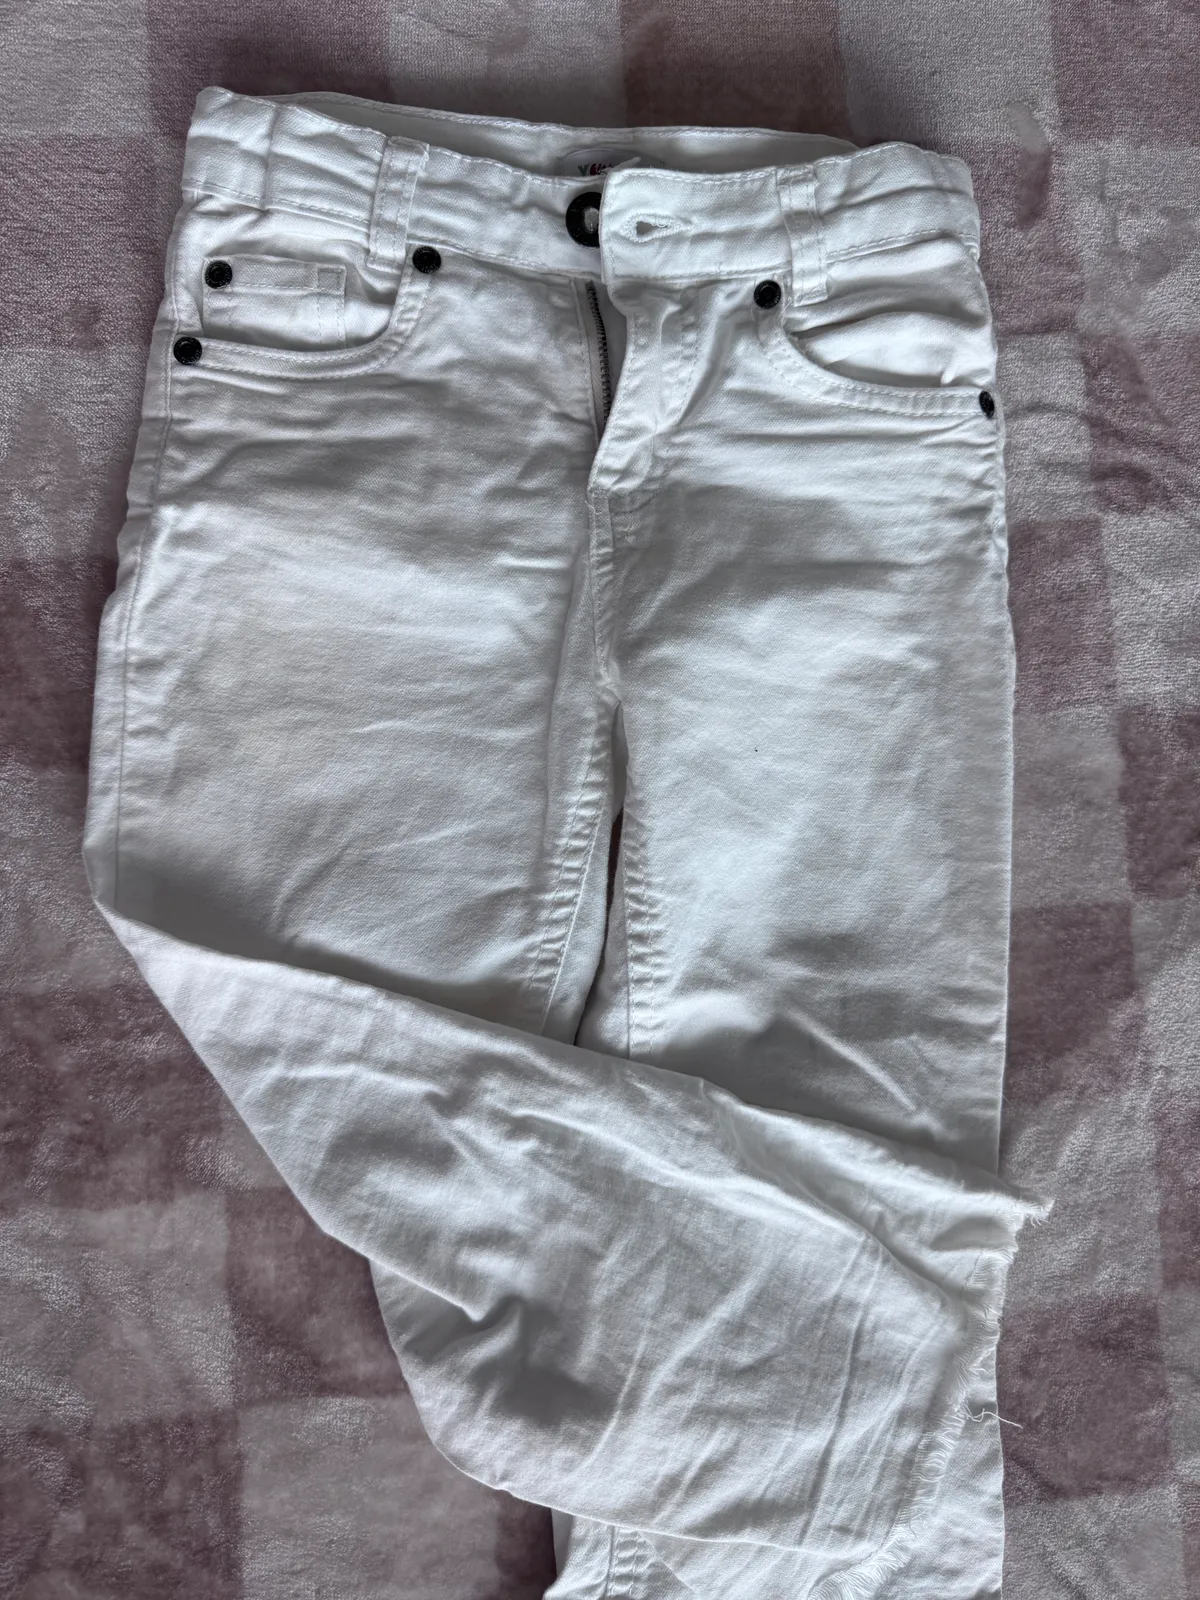
Avoid: Wide shot of the garment where the flaw is hidden 07
Multi-item listings
Selling a few things together? Lay them out flat so every piece is visible. No mystery piles.
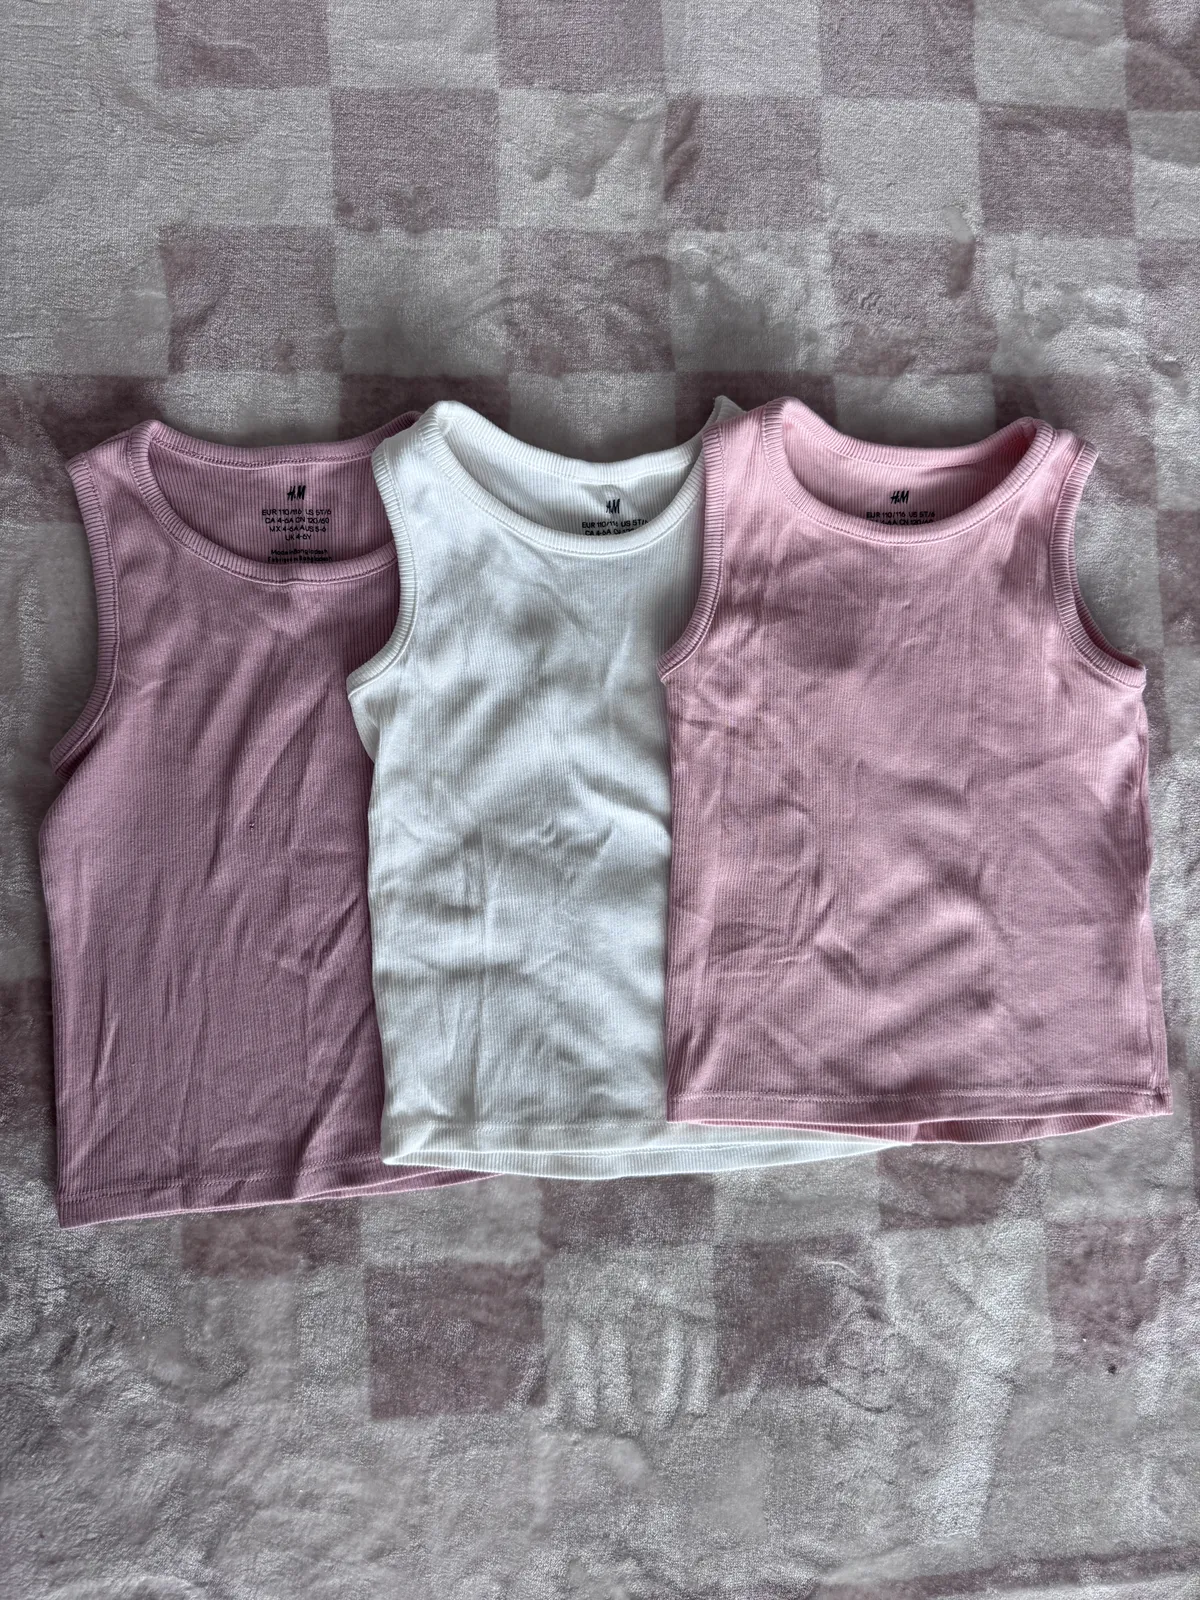
Do: Items laid out flat, all visible, evenly spaced 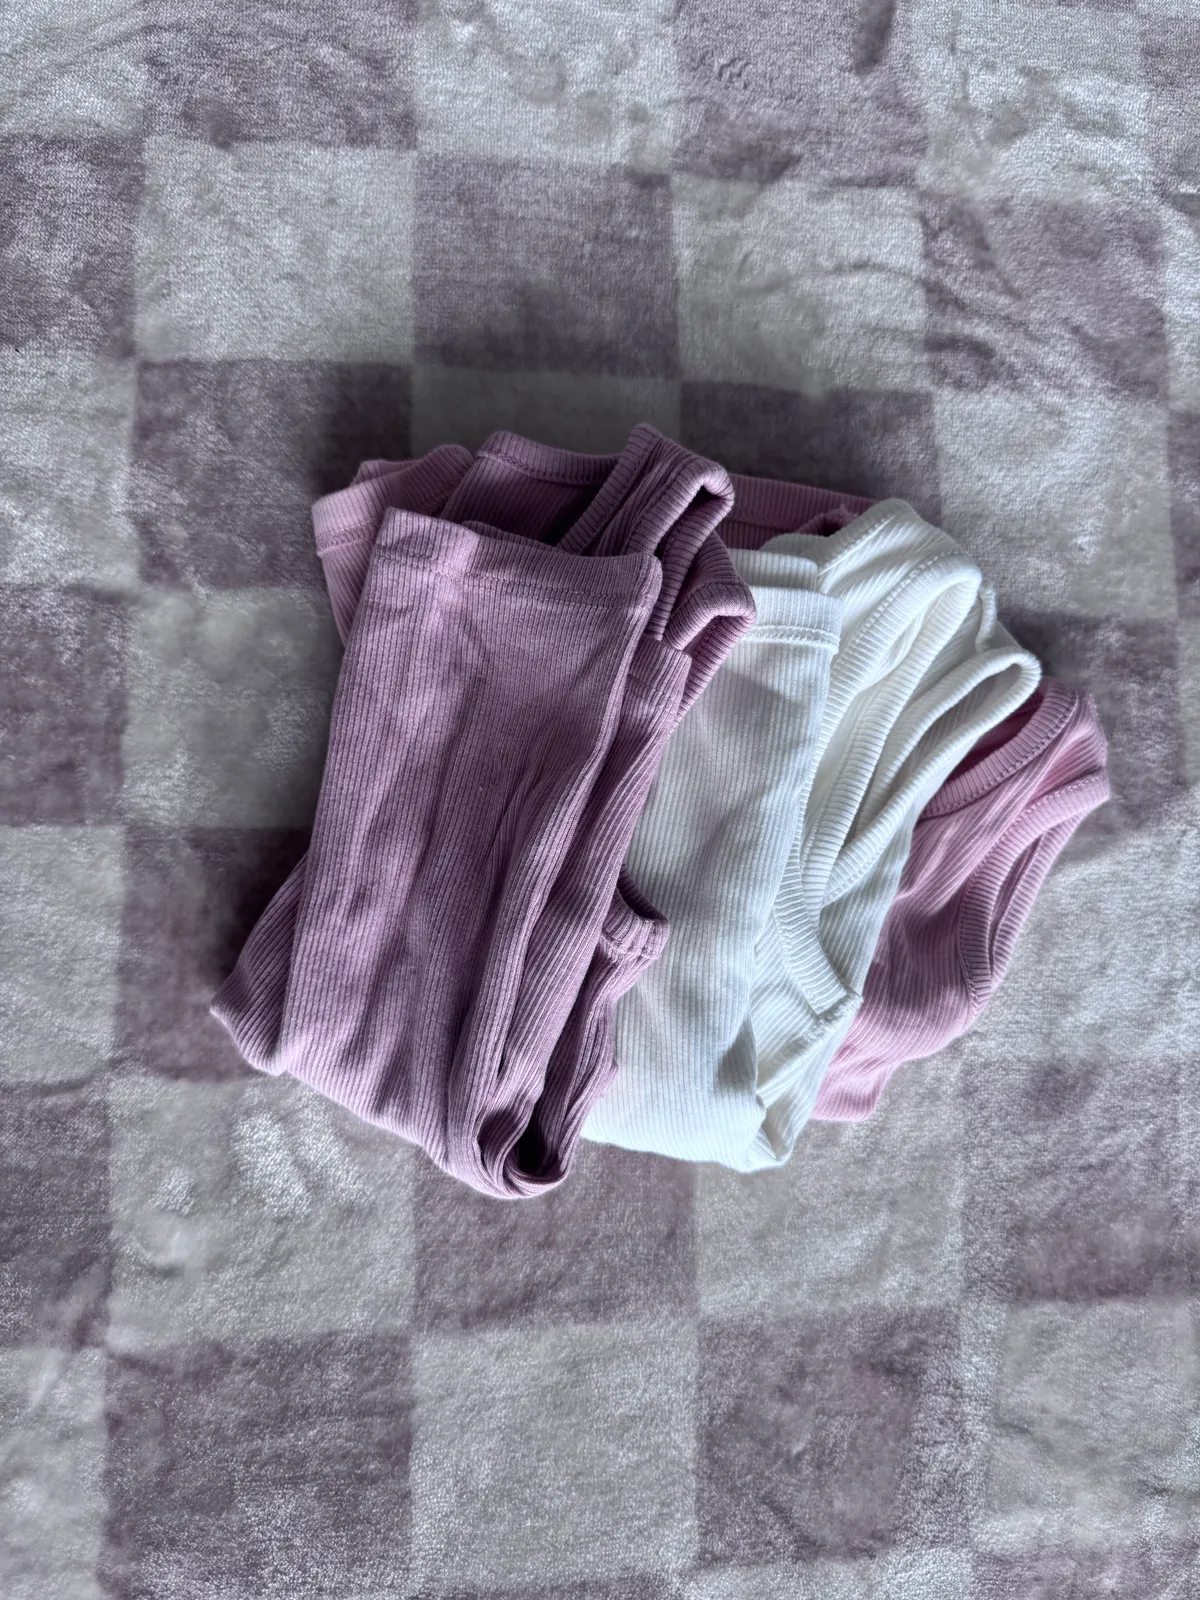
Avoid: Items bunched in a pile or stuffed in a bag